J Highland Made
K-2SO LED "Lego" Installation Guide
Video Walkthrough
Watch the complete installation process or follow the written instructions below.
Before You Begin
Please read through all instructions before starting the installation. Estimated time: 15-20 minutes.
What You'll Need
- Drill
- Drill bits (various sizes)
- Glue (hot glue recommended)
Installation Steps
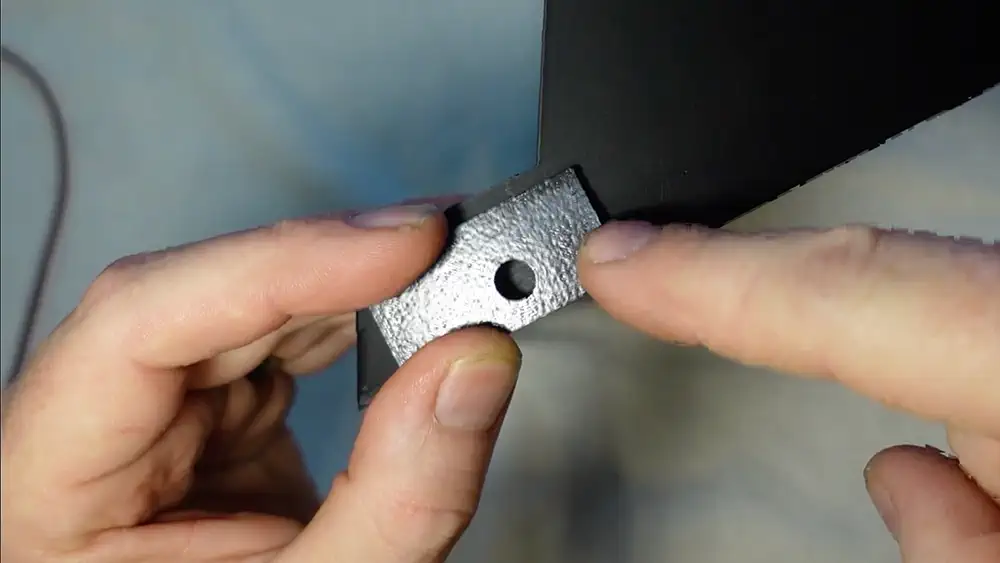
Step 1: Place the drill guide / template on the head
Attach with tape, or hold the inluded drill template to the head
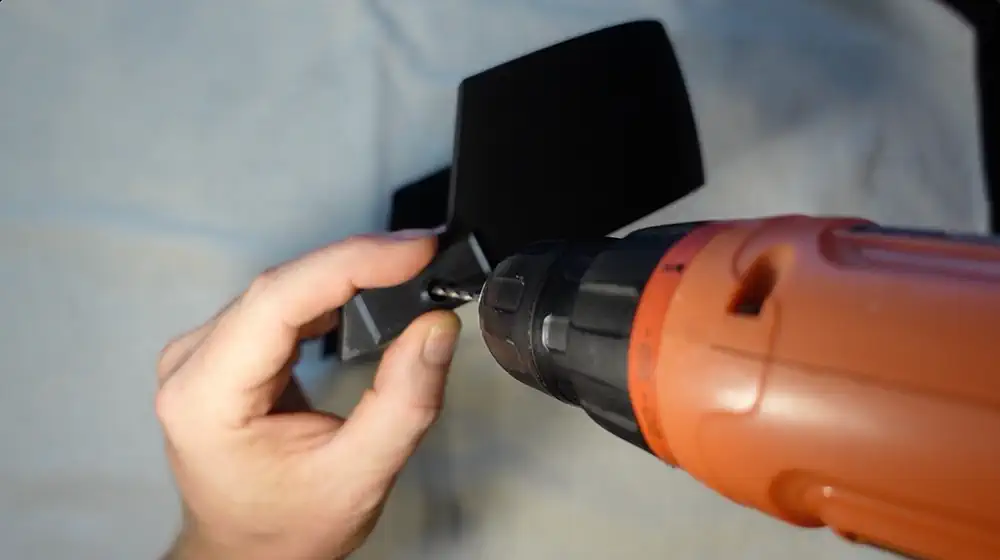
Step 2: Drill hole with a small drill bit
Use a small drill bit to start a pilot hole. Drill slowly
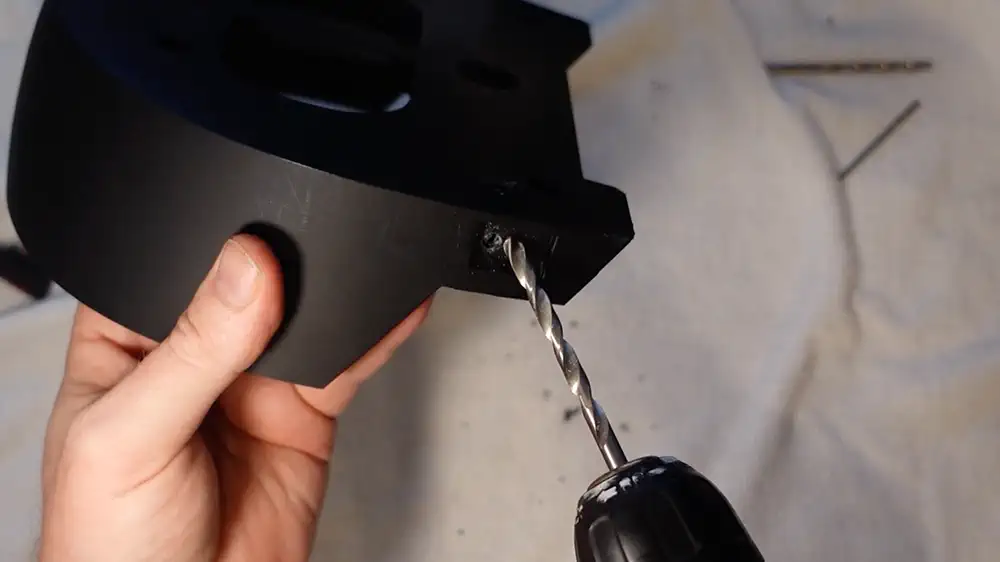
Step 3: Step up to larger drill bits to widen the hole
Use progressively latger drill bits to widen the hole. Go slow.
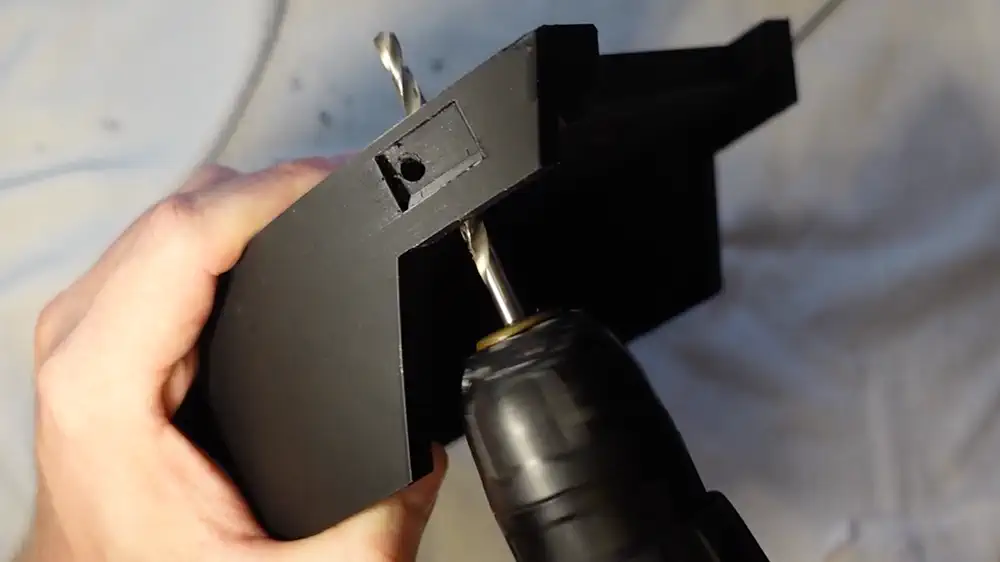
Step 4: Drill down through the head piece
Make a vertical hole through the head piece to allow the wire to feed in fromthe side an up into the head cavity
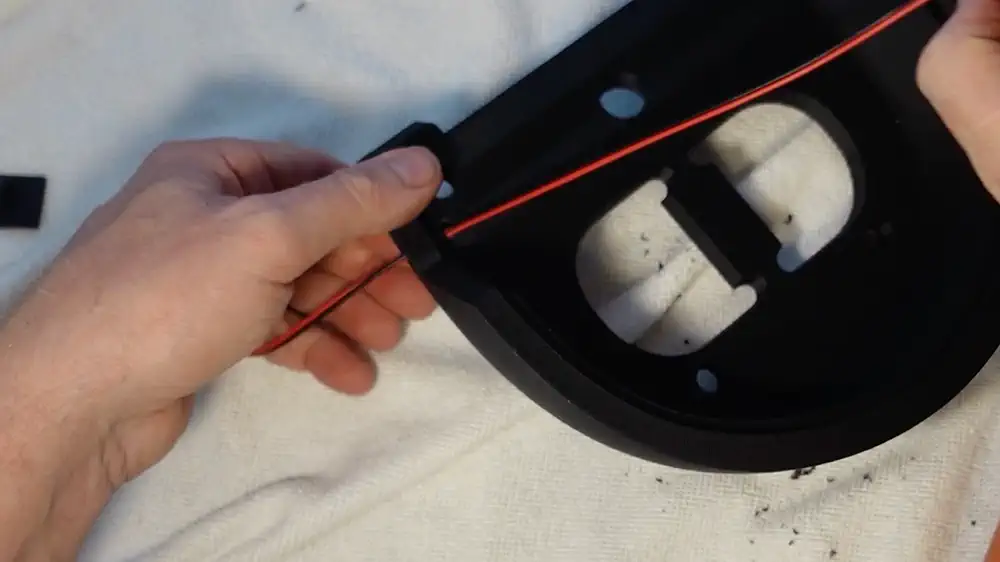
Step 5: Run the wire
Feed the LED wires through the holes you've drilled, ensuring they are not pinched or damaged.
Step 6: Secure with glue
Use a small amount of glue to hold the "lego" in place
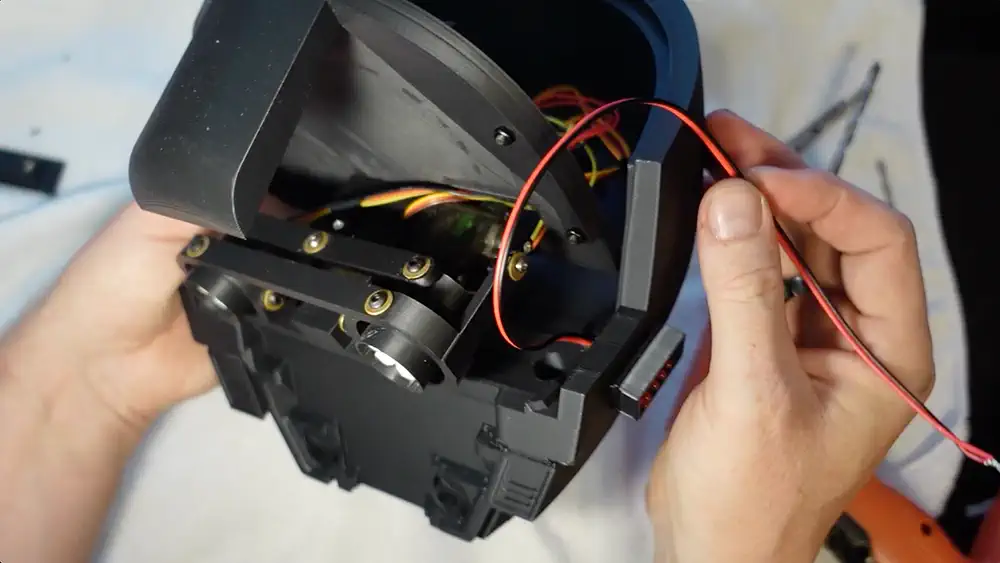
Step 7: Apply power
Run the wires to a power supply. If you are using the animatronics kit, attach the wires to the appropriate terminals. You can also use a any other 4.5v - 5v power supply (3 aaa batteries as an example)
Step 8: Turn it on
There is a micro power switch on the back of the "lego". Flip it to the ON position to light up the LEDs.
